 Skip to content


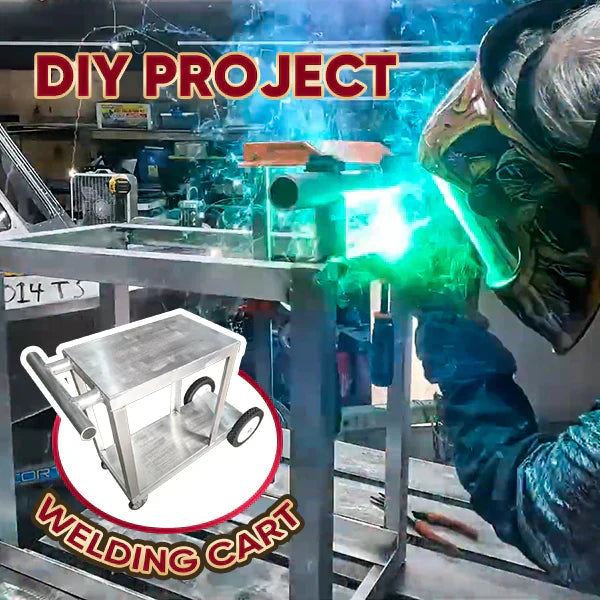
DIY Project: Welding Cart
1. Material
-
1.5-inch aluminum angle
-
1.5-inch aluminum tube that is 1/8 inch thick
-
1/8 inch thick flat plate
2. Equipment
-
YesWelder YWM-211P MIG Welder
-
YesWelder LBT150 Aluminum Welding Spool Gun

LBT150 150AMP Aluminum Welding Spool Gun
-
YesWelder Welding Helmet

LYG-Q800D-YM Larry Customize Monster Graphic Auto-Darkening Welding Helmet
-
Mitering chop saw
-
4.5 inch angle grinder
-
Welding clamps
-
Minion squares
-
7.25-inch circular saw
-
Jig saw
-
Cordless drill
-
Cordless drill with a 1.5-inch hole saw
-
Surface conditioning tool
3. Building Process
3.1 Material Preparation (1:34)
-
Choose aluminum (use scrap aluminum), cut the bottom aluminum sheet, and grind the edges to ensure smoothness. PS: You can also use the materials you already have.

3.2. Making the bottom frame for the welding cart. (2:31)

3.3. Building vertical supports and top frames. (5:01)

3.4. Prepare and cut the aluminum shelves for the welding cart. (6:49)

3.5 Cut and prepare the pipe handle, use a homemade notch fixture to process the pipe, ensuring a flush contact surface. (8:46)

3.6 Install and weld the pipe handle. (11:58)

3.7 Surface Treatment (12:33)
-
Perform a brushed finish on the aluminum surface to prevent scratches and maintain the material’s characteristics.

3.8 Assemble the parts and secure them with welding. (12:55)
-
Secure the upper welder mounting plate and lower storage shelf.

3.9 Installing four wheels. (13:39)

3.10 Safety Testing (14:13)
-
Check structural stability and ensure weight capacity (referencing the 200 lbs limit).

👏 You may be interested in the following:


Leave a comment